


Couldn't load pickup availability
Free Shipping On all orders $59+ Sitewide
Installation Steps:
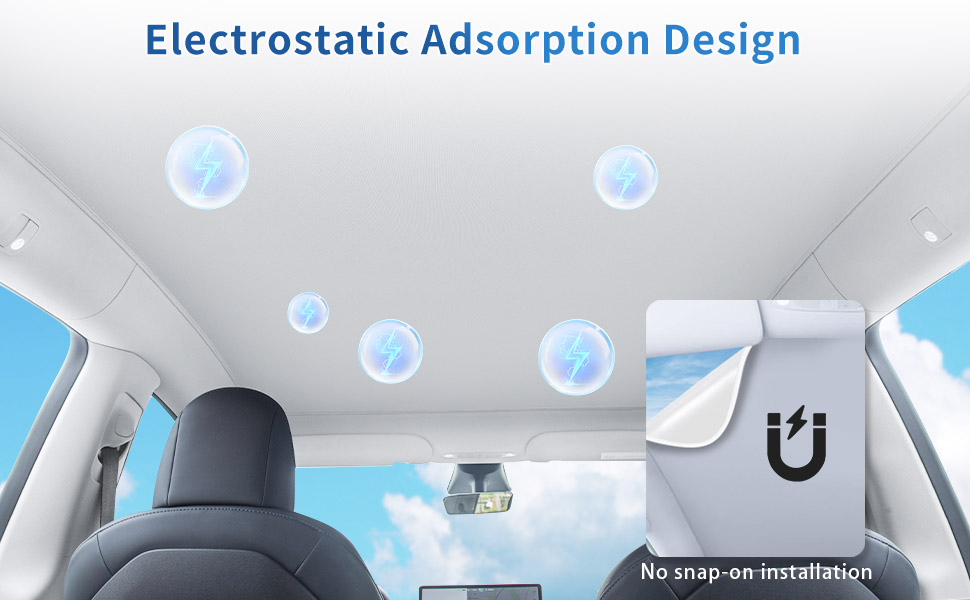
Step 1: Install the sunshade on a sunny day(under the sunlight). When installing it on Cloudy/Rainy days or indoor parking lots, open the heater-A/C to make the air dry for a better generation of lectrostatic effect.
Step 2: Use slightly wet towel or wet tissue to clean the sunroof and item's electrostatic adsorption film.
Step 3: Press the item with one hand, use the blue scrape-board to scrape it to be smooth from side to side with another hand transversely. And move towards the front sunroof gradually to make the item stick on the sunroof.
Step 4: Check if there is a bubble somewhere inside of the sunroof, if so you can use a scrape-board to scrape it to the nearest side to make it out.
Step 5: Check the four sides if there is a gap between the item and the car edge. If so you can open the edge of the item and stretch it to be longer to cover the gap, then use scrape-board to re-scrape it to be smooth.
(There is the elastic feature of this item, it can be stretched with gentle force.)
FAQ
Q1: What’s the first step of installation?
A1: First step is to set the highest temperature of the car (the heating mode), it is to rapidly lower down the humidity in the car. The dry air can make a better electrostatic adsorption effect and easy installation. / Then follow the instruction steps.
Q2: Bubbles between glass and cover, how to remove it?
A2: Two suggestions as below. 1. Use the scrape-board to scrape it to the near side of the cover. 2. Tear down the nearest side of the buddle, use the scrape board to re-scrape it to make it smooth.
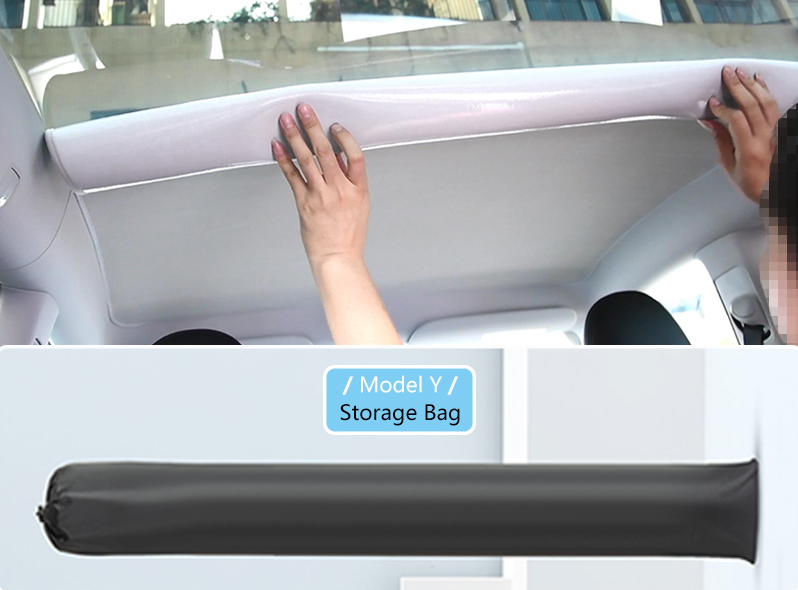
Q3: Can it be removed when not use? How to storage?
A3: Yes, this item is reusable. You can take it down gently, then roll it up and tie up with included ribbon, Finally packs in storage bag and put it in the truck for next use.


